
How To Make Great DIY Swim Films – Top Tips #6
You can see the original article on Outdoor Swimmer here.

Week 6 - Audio Edit, Final Post & Export
Stefan Stuckert is the BAFTA-nominated director of 'Oceans 7', a feature documentary about the open-sea swimmer Beth French and her extraordinary challenge to swim across the world's seven toughest sea-channels in a single year.
'How To Make Great DIY Swim Films' is a series of six blogs with some of Stefan's top filmmaking tips. This is the final week with tips about completing the edit and exporting the film.
1. Audio Edit

Last week, we discussed the picture edit and adding music. Now we will focus on the remaining audio — sound effects and the audio-only interview.
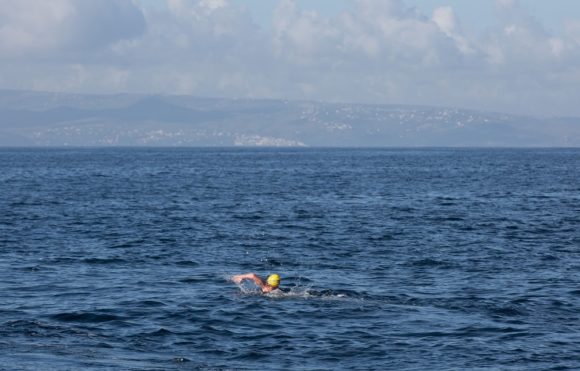
Let's start with the interview. Select the sections you'd like to add to the film, for example an explanation of why the swimmer chose this particular lake or stretch of sea, what is special about the swim, how the cold water affects the body etc.
Lay these on a separate audio track/s under the images. You might need to alter the picture cut, extending or shortening some shots, depending on the length of the interview clips you use.
Next, add the sound effects you recorded: the birdsong, water lapping against the shore, the swimming etc. It takes a considerable amount of sound effects to create a realistic soundscape and you will probably have to use several audio tracks.
2. Audio mixing
If you have more than one audio track, for example music, interview, sync sound and sound effects, you'll have to do some simple audio mixing. During this process the volume and, if possible, the audio quality of each sound clip is adjusted to create an overall balance and ensure that the most important audio stands out.
For example when the interviewee is talking, reduce the audio level of the music and any other sounds, so you can hear the voice loud and clear.
You'll also have to adjust the transitions between sounds, so they run smoothly from one to the next, or, alternatively, cut hard between two very different sounds.
3. Grading and Final Picture
Once the picture and audio work is completed you are entering the 'final post' stage.
Part of this process is the grading. Most editing softwares include simple grading options to increase contrast and saturation or to tweak shadows, highlights or individual colours. Grading allows to you improve the picture quality or to give the film a particular look.
At this stage you can also add captions — the name of the lake or the swimmer for example — and finalise the title.
4. Export

Once you're happy with the sound and the picture, you're done! Now it's time to export your film, so you can show it to your friends and family.
There are many different options and you can export at different quality levels. For our purpose, let's go with a basic high-resolution setting. One of the most common video codecs is H.264. For best audio settings, I would recommend 2-channel stereo and an AAC-LC codec with a data rate of 320 kbit/s.
Frame rate and resolution should match the project setting; in our case, that's HD (1920x1080) and 25 frames per second. The Bit rate controls the visual quality of the video and its file size; for our film, a rate of 10 - 20 Mbps is suitable.
And that's it! This was the last set of tips. I enjoyed writing them — I hope you've found them useful.